
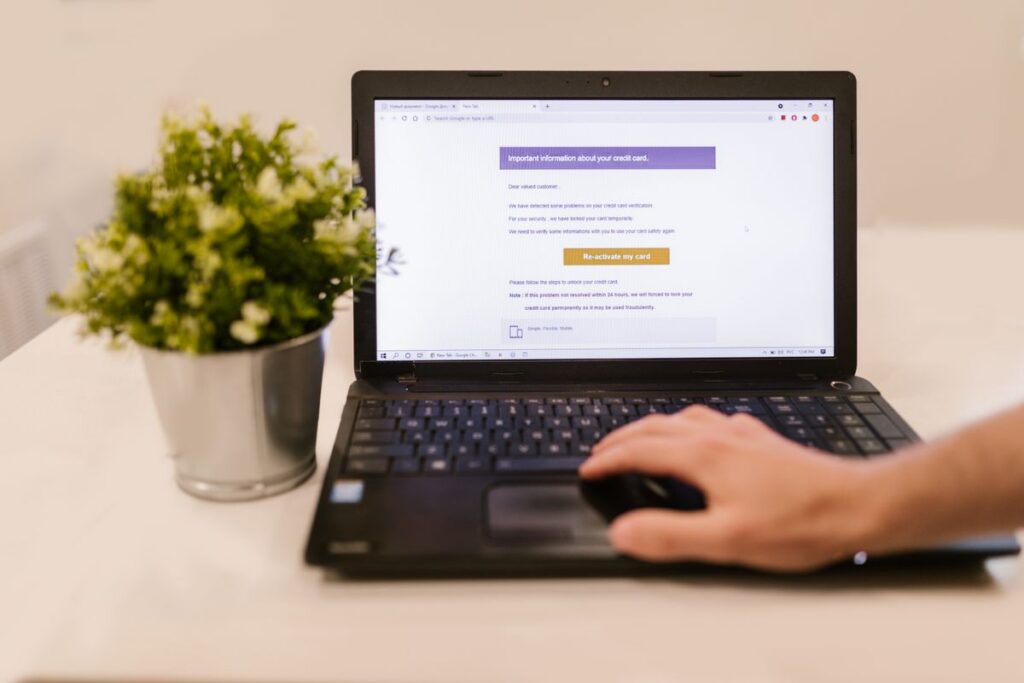
Sound familiar? An email address you’ve used for years — for family, official mail, online shops, old contacts. That very age is what makes it a spam magnet. Every data breach, every sold address list, every form you filled out a decade ago eventually finds its way back into your inbox. And when the provider behind it is a small, independent operation rather than a giant, it often lacks exactly what makes a spam filter good: huge volumes of data to learn from.
The obvious fix — just switch addresses — usually isn’t a real option. You want to stay reachable without updating every contact, account, and subscription individually. So what’s needed is a way to get the spam problem under control without giving up your identity. If you’re after a privacy-friendly inbox in general, our Simple Privacy Fix Private Email That Doesn’t Read Your Inbox has recommendations for that. The approach here is deliberately leaner: keep the existing address, and just improve the filtering.
Why small providers often filter worse
Modern spam filters learn from volume: the more mail a provider processes daily, the faster it recognizes new spam patterns. Big providers like Gmail or Outlook have a structural advantage here that small, independent providers can rarely match, no matter how good their technology otherwise is. That’s why a loyal but small provider eventually hits its limits, while your own inbox keeps filling up over the years.
A risk-free test instead of an immediate switch
Before committing to a move, it’s worth running a simple test: forward a copy of incoming mail to a free trial account with a privacy-respecting provider that has stronger filtering — such as mailbox.org, an independent German provider we also recommend in our comparison of privacy-focused email providers. After a week or two, compare what automatically lands in that spam folder against what actually reaches the old inbox unfiltered. The existing account stays completely untouched — nothing is deleted, nothing has to be decided right away, and the forwarding can be switched off any time.
Thinking about privacy during the test too
A test shouldn’t create new risks of its own. Two simple precautions make the difference: first, don’t forward directly to the new address — forward to a separate alias instead. If that alias ever ends up in an automatic bounce message, only a disposable address is exposed, not the one you’ll actually keep using going forward. Second, set the new provider’s spam handling to move detected spam into a folder rather than rejecting it outright — that’s the only way to actually see what got filtered and check for anything wrongly flagged.
The path forward
If the test proves out, the switch doesn’t have to happen all at once. The old address can keep serving existing accounts and subscriptions, while new, private correspondence already runs through the new, better-filtered inbox — step by step, with no deadline. Exactly how to set that up — forwarding, the alias, and the right settings — is covered in the detailed guide below.
Key Takeaways
- Old, long-used addresses are especially prone to spam — often because smaller providers filter more weakly than big ones.
- A risk-free forwarding test shows whether another provider actually filters better — with no address change required.
- An alias as the forwarding target, plus setting spam handling to “move to folder” instead of “reject,” protect your privacy along the way.
- A switch can happen gradually — the old address doesn’t need to be given up right away.
Photo: RDNE Stock project via Pexels
The Step-by-Step Guide
This guide walks you through setting up a free trial with mailbox.org and forwarding your emails there, so you can compare how well it filters spam versus your current provider. Nothing changes on your current account except adding a forwarding rule — you can undo it any time.
Step 1: Create your trial account
- Go to mailbox.org/en
- Click “Try for free” (or “Register” / “30-day free trial”)
- Choose a username — this becomes your new address, e.g. yourname@mailbox.org
- Fill in the registration details (no need to provide sensitive personal info beyond what’s required)
- Confirm your new mailbox.org address via the verification email
- You now have full access to all features for 30 days, free of charge
Step 2: Log into webmail
- Go to office.mailbox.org
- Log in with the username/password you just created
- This is your home base for the rest of the setup, and where you’ll check incoming mail during the test
Step 3: Change how spam is handled
By default, mailbox.org rejects mail it identifies as spam outright — the sender gets an automatic bounce-back message. For this test, that’s a problem: a bounce reveals the new mailbox.org address to whoever sent the spam, and it also means you never actually see what got caught, so you can’t check for false positives.
Change this now, before setting up forwarding:
- Still in webmail: All Settings (gear icon) → Mail → Filter → Spam filter
- Find the setting for how detected spam is handled
- Change it from “Reject” to “Move to folder” and select the Junk/Spam folder
- Save
One caveat worth knowing: this setting only covers the content-based spam filter. A separate set of “technical” filters (greylisting, blocklist checks) always reject at the connection stage regardless of this setting — there’s no way to route those to the Junk folder instead. In practice this mostly affects first-time or suspicious senders rather than newsletter-style spam, but it means a small slice of rejections may still happen even after this change.
Step 4: Create an alias to use as the forwarding address
Rather than forwarding directly to your new mailbox.org main address, create a separate email alias and forward to that instead. This way, if the forwarding target ever leaks — for example through a spam bounce, or a sender who inspects headers — it exposes only a disposable alias, not the address you’ll actually keep using going forward.
- Still under All Settings → Mail → Email addresses (sometimes called “Aliases”)
- Add a new alias — pick something unrelated to your name, e.g. test-forward-xyz@mailbox.org
- Save
You’ll use this alias address — not your main login address — as the forwarding target in Step 6. Mail sent to the alias still lands in the same mailbox, so nothing else changes.
Step 5: Install mailbox.org as an app (optional)
Mailbox.org’s webmail also works as a Progressive Web App — this gives you an app icon and a more native, full-screen experience without installing anything from the App Store. No extra account setup needed, just a different way of opening the same webmail.
On iOS (iPhone/iPad):
- Open office.mailbox.org in Safari (must be Safari, not Chrome or another browser)
- Log in as usual
- Tap the Share icon (square with an arrow pointing up) in the toolbar
- Scroll down and tap “Add to Home Screen”
- Confirm the name and tap “Add”
- You’ll now have a mailbox.org icon on your home screen that opens like a normal app
On Mac:
- Open office.mailbox.org in Safari
- Log in as usual
- In the menu bar, go to File → Add to Dock (on newer macOS/Safari versions), or find the Share icon in the address bar and choose “Add to Dock”
- Confirm — you’ll get a standalone app icon in your Dock that opens mailbox.org in its own window
This is purely a convenience layer during the test phase — it makes checking the new inbox feel like using a dedicated app rather than a browser tab, without any extra installation or account changes.
Step 6: Set up forwarding on your old account
This step happens on your current provider’s side, not mailbox.org’s. Steps vary slightly by provider, but generally:
- Log into your current email account’s webmail (browser, not the Mail app)
- Look for Settings → often labeled “Filters,” “Forwarding,” “Mail Forwarding,” or “Rules”
- Find the option to forward all incoming mail to another address
- Enter the alias address you created in Step 4 — not your main mailbox.org login address
- Some providers will send a confirmation request to the new address first — check your mailbox.org webmail inbox and confirm if asked
- Important: choose to keep a copy in your old mailbox as well (don’t select “forward and delete”) — this way nothing is lost and you can still compare both sides
- Save the settings
Step 7: Let it run
- Don’t change anything else — just let mail flow in normally for 1–2 weeks
- Keep using your normal email as usual
Step 8: Compare
Periodically check mailbox.org — either via the app icon installed in Step 5, or by going to office.mailbox.org in a browser:
- Look at the Inbox — see what arrived
- Look at the Spam/Junk folder — see what mailbox.org caught automatically
- Compare against what actually landed in your old inbox unfiltered
That’s it — no app changes, no client setup, nothing irreversible.
Fallback: if forwarding isn’t possible
Some smaller providers don’t offer a forwarding option, or hide it somewhere hard to find. If that’s the case, mailbox.org can instead pull your mail from the old account automatically, via POP3:
- In mailbox.org webmail, go to All Settings → Mail → External accounts (sometimes called “Integrating external accounts”)
- Add your old account’s email address and password
- Look for a “Delete from server” option and make sure it stays unticked/disabled — this keeps your old inbox intact so you can still compare both sides
- Save
A few differences from forwarding worth knowing: mailbox.org checks the old account roughly every 30 minutes rather than delivering near-instantly like forwarding does, and this method requires giving mailbox.org your old account’s actual login credentials. For the test itself, both approaches work fine as long as “Delete from server” stays disabled. Forwarding is still the smoother option where it’s available — this is simply the backup plan.